What to bring with you to the gym...

Nina Jordan • April 14, 2025

This is a subtitle for your new post

What to Bring to the Gym: Your Ultimate Gear Guide

Walking into Righteous for the first time? Or maybe you’re a seasoned Veteran and just want to make sure you’re not missing anything in your bag. Either way, showing up prepared makes a difference — in your performance, recovery, and overall experience.

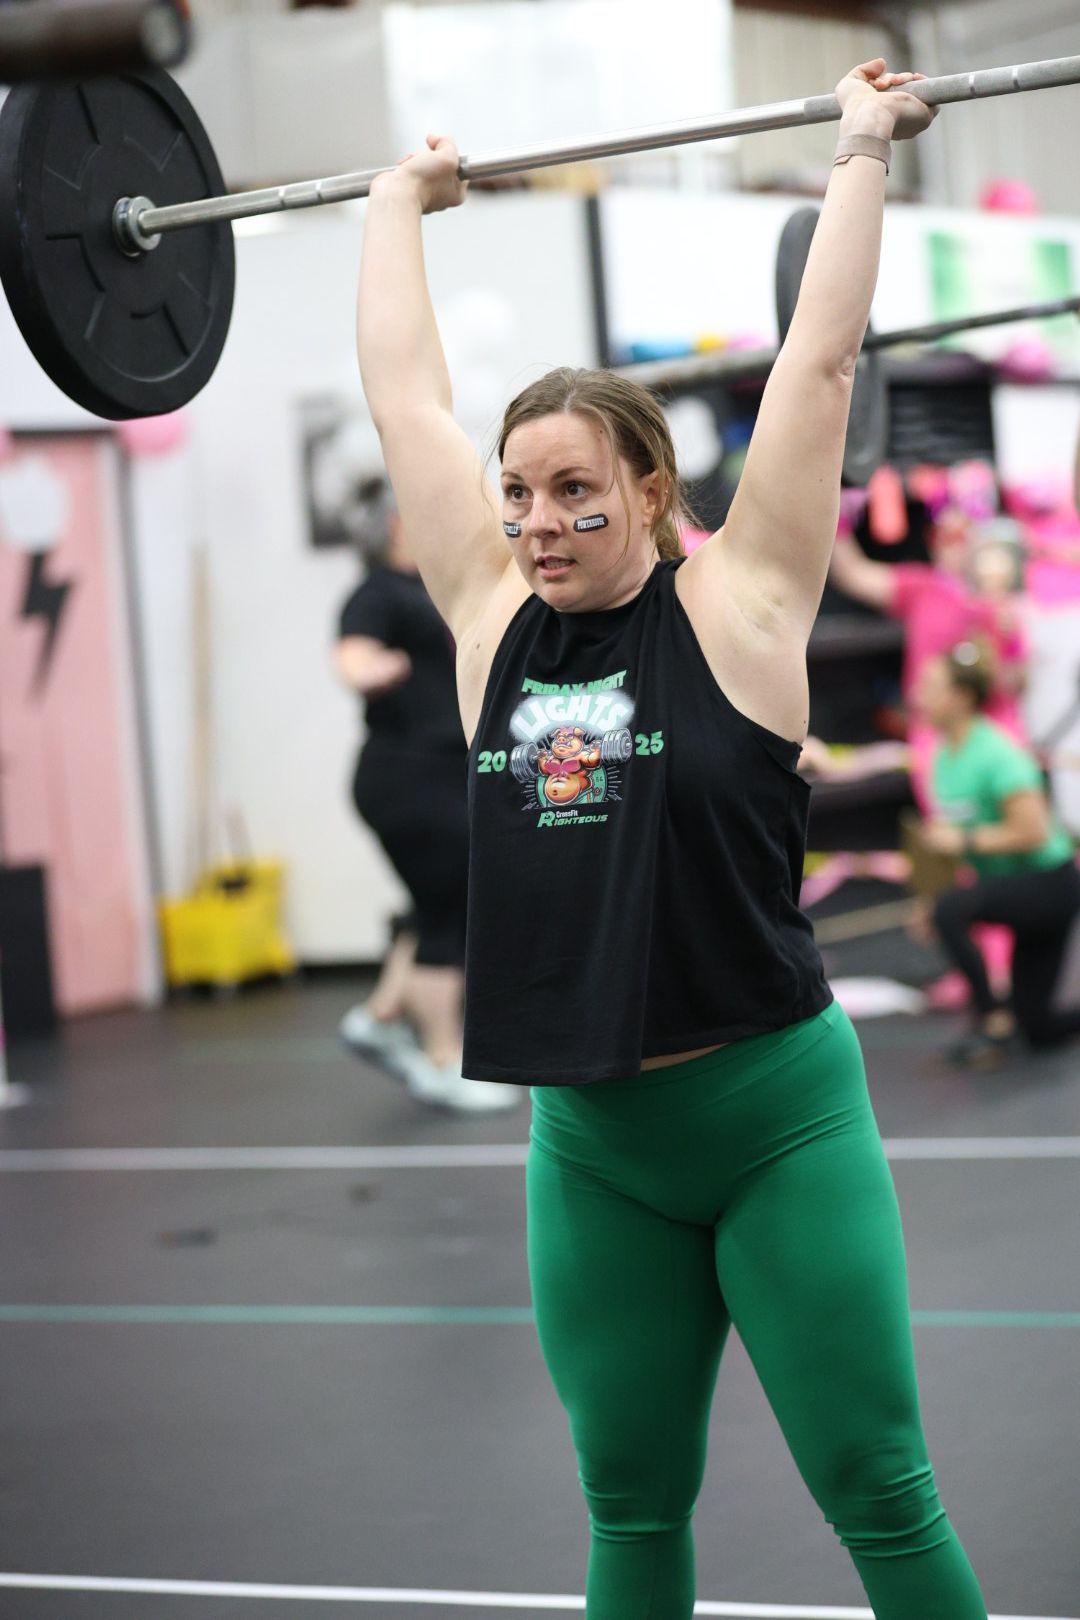
Righteous isn’t your average gym session — we’re talking lifting, jumping, rowing, climbing, and everything in between. So your gear needs to be as versatile as your workouts. Let’s break down what to bring to the gym, whether you're a rookie or a seasoned Vet...

✅ Gym Bag Essentials

1. Training Shoes

You’ll need stable, supportive shoes that can handle it all: lifting, sprinting, jumping, rope climbs, and lateral movement. Nike Metcons, Reebok Nanos, Innov8s, and Nobulls are top choices for a reason — they’re built for this.

2. Water

Workouts can be intense, so hydration is non-negotiable. Bring a water bottle -  especially in the summer!

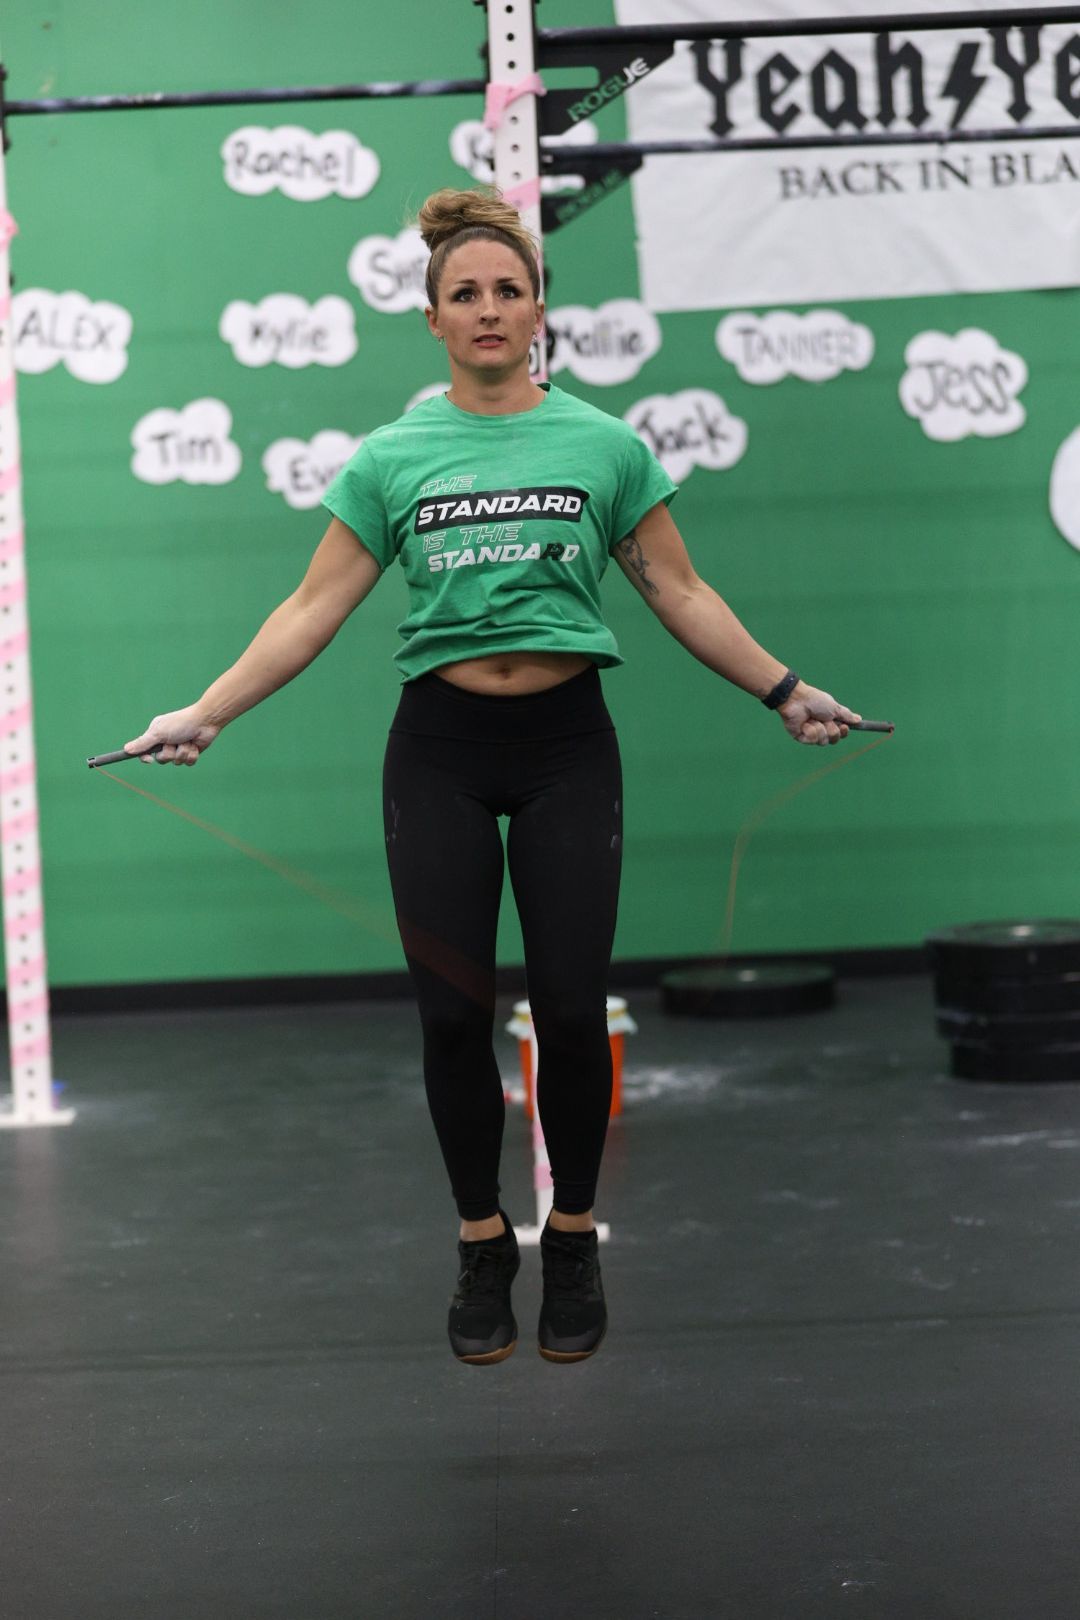
3. Jump Rope (Yes, Your Own)

Double unders? You’ll want your own rope, sized to your height and speed preference. We do have extras, but nothing beats the feel of your own rope. If you purchase one, our team can help you size and cut it.

4. pOST WORKOUT FUEL

Bring a quick protein shake, bar, or snack to refuel after the workout. Recovery starts the second you drop that last barbell.

5. Change of Clothes

If you're planning on going somewhere afterwards- bring a hand towel and a change of clothes.

Optional Extras (But Good to Have)

6. WRIST WRAPS & KNEE SLEEVES

For heavy lifts, overhead movements, or high-rep workouts, support gear can go a long way in protecting your joints and improving stability. Not every day calls for them, but they’re good to have on hand.

7. hand protection

Tired of ripping your hands on pull-ups, toes-to-bar, or muscle-ups? Invest in a good pair of hand grips. Your palms will thank you, and your training won’t have to pause for torn skin. We keep grips in the store area- we're happy to help you find a pair that fit your hands.

8. Weightlifting Belt

If you’re going heavy on squats, cleans, or deadlifts, a lifting belt can help stabilize your core and protect your lower back. Don’t rely on it for everything — but for max lifts, it’s a smart addition.

9. Athletic Tape

Need to tape your thumbs for hook grip? Wrap your hands for bar work? Cover a fresh callus? Keep some athletic tape in your bag — and not just the "normal" athletic tape- only the good stuff will withstand your workouts here. Find some here in our s

10. Chalk (Optional, But Nice)

We allow chalk and supply it in our store. Bring your own container to store it in — no one likes a chalk explosion in their bag.


Final Thoughts

We train to be ready for anything, and your gym bag should reflect that. The good news? You don’t need every piece of gear on day one. Start with the basics, add as you go, and listen to your body (and your coach).

The better prepared you are, the more you can focus on what matters — crushing it and having fun!


MORE RECENT POSTS

By Nina Jordan June 16, 2025
You crushed it at the gym, you increased your weight and intensity... Now your muscles are talking back — and not in a good way. If you hit the gym regularly, you’ve probably had days where walking up stairs feels like climbing Everest. That post-workout ache is called Delayed Onset Muscle Soreness (DOMS), and while it’s a normal response to pushing your body, it doesn’t mean you have to suffer through it blindly. Here’s how you, the everyday gym-goer, can handle soreness smartly and keep your training on track. 1. Don’t Skip Movement - Taking a full rest day can feel tempting when you’re sore, but staying completely still can make you even stiffer. Instead, continue to get your blood flowing and help flush out muscle waste. Think of it as damage control, not punishment. 2. Hydrate Like It’s Part of Your Workout - Muscle soreness can worsen when you're dehydrated. You’re already sweating buckets in the gym — don’t shortchange your recovery. Drink water consistently throughout the day. Better hydration = better recovery. 3. Use Heat and Ice — at the Right Times - Right after a brutal workout? Ice can help bring down inflammation. A day later when the tightness sets in? Heat can relax stiff muscles and improve mobility. Hot baths, warm compresses, and even contrast showers (alternating hot and cold water) can be game changers. 4. Stretch, But Don’t Overstretch - Dynamic stretches before your workouts = good. Static stretches after your workout = better. When sore, aim for light, feel-good stretches — this isn't the time to force a deep hamstring stretch. A few minutes a day can keep you moving without making soreness worse. 5. Foam Roll Like It’s Your Job - If you’re not foam rolling, you’re missing a golden recovery tool. Just a few minutes of rolling can: Ease muscle tension Improve blood flow Speed up recovery Target sore areas gently — it should feel relieving, not like torture. 6. Fuel Up Post-Workout - What you eat after the gym matters — especially when you’re sore. Aim for: Protein to repair muscle fibers Carbs to replenish energy Healthy fats to fight inflammation A protein shake with banana and peanut butter? Perfect post-gym fuel. 7. Get Serious About Sleep - Your muscles aren’t just recovering in the gym — they’re repairing while you sleep. Aim for 7–9 hours a night if you want your body to bounce back stronger. Late nights + early morning workouts = sore, grumpy, and stuck in a plateau. 8. Know the Difference Between Soreness and Injury - DOMS is normal. Sharp, stabbing, or long-lasting pain? That’s a red flag. Don’t ignore your body trying to warn you. When in doubt, back off and reassess. Final Thoughts Soreness is part of the process — a sign that your workouts are working. But being sore shouldn’t mean dragging yourself through the week. Use these strategies to recover smarter, stay consistent, and keep progressing without burning out.
By Nina Jordan June 2, 2025
Here are seven at-home workouts that require minimal equipment (just dumbbells or kettlebells, jump rope optional). It’s built around high-intensity functional movements — think bodyweight exercises, dumbbell work, cardio — scale for various fitness levels. ONE For Time: 21-15-9 Air Squats Push-ups Jumping Lunges (Optional: 50 double unders or 100 singles after each round) TWO EMOM x 12 (every minute on the minute): Minute 1: 10 Dumbbell Swings Minute 2: 10 Dumbbell Push Press Minute 3: 30s Hollow Hold 3 Rounds: 20 Russian Twists (each side) 10 V-ups 1 min Plank THREE 30–45 min walk, bike, hike, or yoga Mobility work: hips, shoulders, T-spine FOUR As Many Rounds As Possible in 12 Minutes: 10 Burpees 15 Dumbbell Snatches (alternating) 20 Sit-ups FIVE 3 Rounds For Time: 15 Dumbbell Deadlifts 12 Dumbbell Front Squats 9 Dumbbell Push Jerks *Rest 1 minute between rounds SIX 20-Minute AMRAP: 200m Run (or 30 seconds of high knees) 20 Air Squats 15 Push-ups 10 Dumbbell Rows (each arm) SEVEN – Rest or Stretch Optional: 20–30 min of light mobility (foam roll, stretch) There are a million different variations you could do- these are just 7 options if you're in a pinch!
By Nina Jordan May 7, 2025
Should you do double-unders? Do you HAVE to? No. Double-unders do not tell you if you're fit or healthy. There are a lot of healthy and fit folks out there that have not yet mastered the double-under skill. Does that mean you shouldn't try? No. Double-unders are a great source of cardio that trains rhythm, timing, neuromuscular coordination, proprioception, kinesthetic awareness, control under fatigue, etc.. Before getting frustrated with them, ask yourself why you are learning them. If it's because everyone else is doing them and we think we're not fit without them... maybe, just maybe, we're going about it the wrong way. Why you SHOULD keep trying them: Because they are. a frustrating movement that can challenge you (for years sometimes)! A challenge like this is good for your brain. It helps you outside of the gym to not give up when things aren't working. To keep showing up when life whips you (pun intended). Stick with the thing that frustrates you. Here are some tips to help you get better at double unders: Improving double unders with a jump rope involves a mix of timing, technique, strength, and consistency. Here’s a breakdown to help you get better: ✅ 1. Master the Basics First Make sure you can do consistent single unders (normal jumps) with good posture and minimal arm movement. Practice slowing down single unders to get more control over timing. ✅ 2. Use the Right Rope Choose a speed rope with a light cable and ball bearings for faster rotations. Adjust the length: When you stand on the rope, general rule of thumb is that the handles should reach just below your armpits. ✅ 3. Refine Your Technique Jump straight up, just a bit higher than for singles — don’t kick your heels back or tuck. Let your wrists doing most of the work. Keep your body tight and tall, with a neutral head position. ✅ 4. Practice Wrist Speed Try rope turns without jumping (double-tap drills) to isolate and train wrist speed. You can also do "penguin taps": jump in place and tap your thighs twice midair to simulate timing. ✅ 5. Do Progressions Mix 1 double under between 3–5 single unders (e.g., single-single-single-double). Gradually reduce singles between until you can string doubles together. ✅ 6. Improve Conditioning Double unders are demanding. Work on cardio endurance, calf strength, and ankle mobility. ✅ 7. Be Patient and Consistent Short, daily practice is better than long, frustrating sessions. Film yourself occasionally to check form and identify issues.
More Posts